


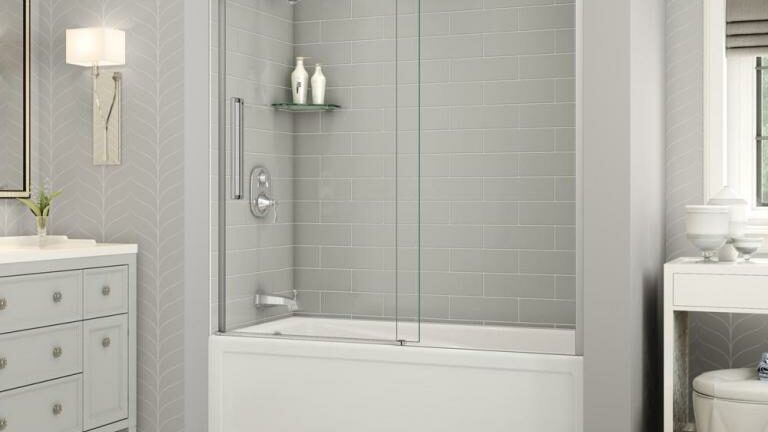
You’ve been thinking about this for some time. There is something missing in your bathroom, isn’t there? You have a beautiful shower, wonderful cabinets, and a neat space; then what is it? Could it be the lack of a glass sliding shower door?
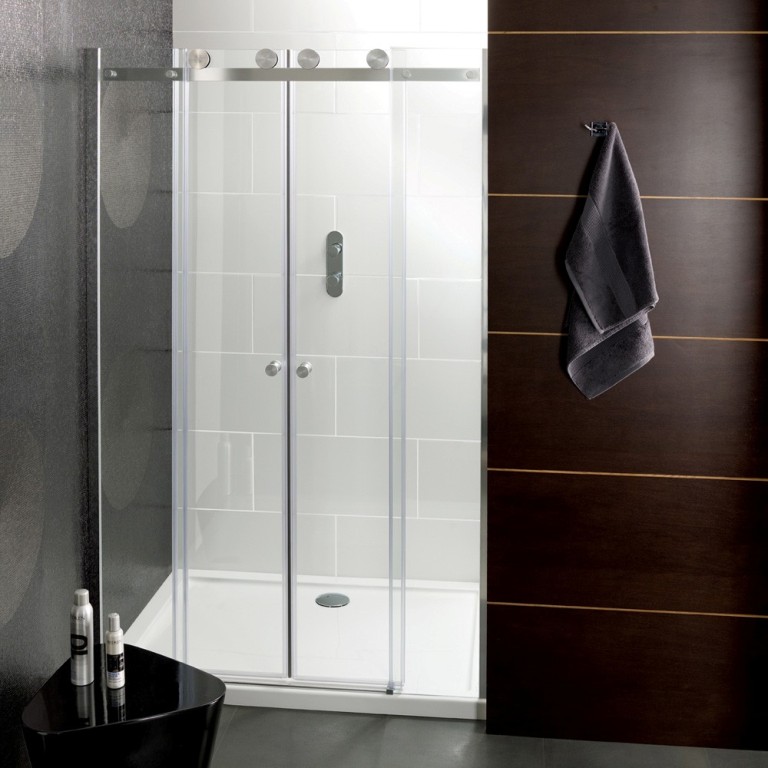
Any bathroom looks classier and more modern with the touch of a glass shower door. It has reflective properties and, as such, the bathroom looks brighter and more open. Not to mention there are plenty of designs to choose from for sliding shower doors. You can carefully select the one you think will suit the aesthetic of your bathroom the most.
Now, installing a shower door with the help of a professional can be a costly affair. We are certain you will like to avoid doing so if you can. As such, we have a mini-guide on how you can install a sliding shower door yourself.
The Process of Installing a Sliding Glass Door Yourself
We have selected the most common method. However, keep in mind that manufacturers can have different instructions for their glass as shower doors can have really different mechanisms. Check with your manufacturer before doing anything!

Tools You Will Need
The tools needed to install a glass shower door are a hacksaw, screwdriver, bubble level, and a metal file. You will also need caulk made of silicone and dispenser, masking tape, and drill bits.
The Steps to Follow for Installation
Before you begin, keep all the tools in one place. While it isn’t necessary to have an assistant, it will make the installation simpler for you. Have the shower door unpacked and ready at hand and check whether you have all the hardware inside it. Carefully differentiate the door jambs, top, and bottom tracks, and then separate them according to category.
First Step- Preparing The Bottom Track and Wall Jamb
You have to start measuring the distance between the two walls where you will have to install the bottom track. Usually, the distance between the tracks should prove to be 1/4” smaller than the one between the walls so the hardware can have some room. On the bottom track, mark the distance and then use your hacksaw to trim to the perfect length.
If you see signs of rough edges where you used the hacksaw, use a metal file to even it out.
Next, you need to position the bottom track over the central portion of the ledge. For now, use masking tape to keep it in place. Use a pencil to mark up the edges of the track and the end, so that aligning it is easier later.
Now, for the wall jambs, you will need to make use of the lever to ensure proper installation. You will have to hold one jamb in place with masking tape. Mark where the screw holes on the walls are with a pencil. Do the same thing with the other door jamb?
Second Step – Installation of The Bottom Track and The Wall
It is time to detach the wall jambs that have been taped. Prepare to drill holes in the areas that have been marked. You will know what the size of the drill bit should be according to the manufacturer’s instructions. Place the wall anchor hardware in the hole you drilled.

Now, the door jamb has to be installed and secured with the anchors. Tighten the screw with the screwdriver.
Detach the taped bottom track. It’s time to apply the silicone caulk on the underside of it. The bottom track has to be replaced according to the marks that have been made previously. Install the hardware.
Third Step-Top Track Installation
Like how you installed the bottom track, you will have to check what is the distance between the topmost part of the wall. This is where the top part of the door frame is attached. Keep the space for hardware in mind while measuring.
Again, mark the measurements so you aren’t confused later. Cut the marked area with a hacksaw. The steps are exactly the same as the bottom track one, where you now file the edges after you’re done the cutting.
Make sure the right part of the track is visible outward when you’re installing the top track with the hardware that has already been sent in the glass shower door package.
Fourth Step- Install The Glass Door
Now, align the hardware for sliding over the glass door. If your door has been coated, be careful and check that the side that hasn’t been coated is the one facing the front. Once you’re done installing the hardware, start adjusting the door to the upper track.
To check whether you have done it correctly, simply slide it from left to right. If you see the door stutter while it is closing or opening, you will have to make changes to the brackets. To ensure the door slides smoothly, you might have to use different types of mounting holes.
And that’s it, you have successfully installed a sliding glass shower door by yourself.
You know how to install a sliding glass shower door but do you know where to buy one from? We recommend Fab Glass and Mirror for all your glass-related needs. The glass and mirror company allows the option for optimal customization of their products.
You can first choose the shower door type and then proceed according to your preference on the layout, measurement, glass type and thickness, hardware, whether you want any surface protection, and so on.
Once you’ve made your choices, the experts from Fab Glass and Mirror will prepare your design draft. You can approve or disapprove of the design. If you agree, the company will provide you with a quote. Again, if you wish to proceed further, an order will be placed. After that, just wait patiently for 3 to 5 business days and you will have the sliding shower door delivered to your home.
The company provides excellent customer service at every step of the way to assuage all your fears. The nationwide free shipping is another perk. Don’t wait too long to install your new glass shower door!