


Here is an already compiled list. It entails what you will be needing when it comes the time to do the self window installation.
TOOLS
- circular saw
- screw gun
- pry bar
MATERIALS
- wooden window sill
- insulation
- cedar shims
Terminology
Jamb Extension – A jamb extension is a wood piece that has been ripped down and aligned with the window jamb to ensure the window is level with the wall.
DIY
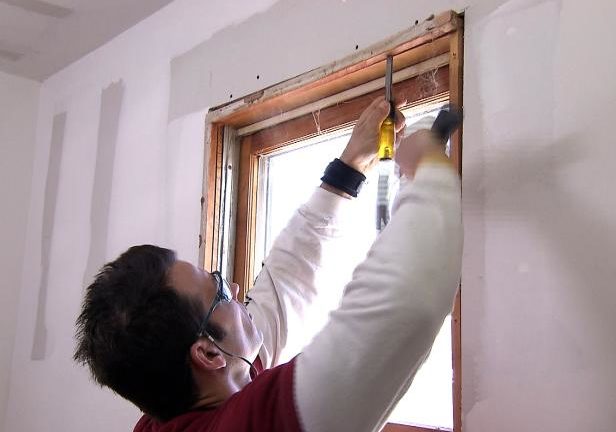
Step 1: Get Rid of Old Window Casing and Trim

Using a putty knife underneath of the pry bar to protect the wall from damages, take off the window trim. Also, remove the jamb extension that is still on the old window.
Step 2: Get Rid of Old Window and Guide Track
Next, remove the screws in the window from the jamb then get rid of it. Be cautious not to break any glass whilst removing it.
Step 3: Preparation and Repair the New Window Opening

After the window is freshly out of the wall, inspect the current shape of the window jamb to ensure there are no structural damages. You may want to read this cracks above doors and windows article on Buildfix to learn more about potential damage in your property, what to look out for and how to go about correcting it. If the window jamb is in rough shape, then you will have to repair it. Furthermore, you will also be required to measure the rough opening. The reason for this is that the rough opening should be approximately be ¼” to ?” greater in size then the exterior dimensions of the brand new window.
Step 4: Inspect and Replace Window Stop
A windows stop is a wood piece ripped down and then set around the exterior side of the jamb belonging to the window. The purpose of the stop window stop is to stop the window from sliding outside of the opening. Depending on the condition of the window stop, you may need to do some repairs or fully replace it.
Step 5: Dry Fit the Window
Dry fit the window to ensure that there no placement or fitment issues. Then, apply the silicone to the window stop. If any placement or fitment errors occur, address the problem now. Repeat the process of dry fitting the window again. It may take several attempts to achieve a level of exceptional acceptably.
Step 6: Install the Window

The first step is to run a bead of silicone alongside the inside edge of the window stop. Slide the window into position. Use a level alongside the window’s top. Next, press cedar shims between underneath the window and the jamb to get the window level.
Typically, the window will come with a hardware packet. This packet is comprised of four screws used to go through the side of the build to keep them in the jamb. On each side of the window, two screws should be into both sides of the window. One screw should go through the top and the other one, through the bottom.
Add the Insulation
In the area with the original window frame, there is a potential there could be gaps. The more larger gaps, use a cutting from a roll of insulation and then pack them into the gaps. With the more harder to reach spots, you can use spray insulation foam.
Add the Trim Molding and the Extension Jambs
Select a style of moulding that best fits what you need to give your home a nice finish. Measuring the length of individual pieces as well as use a mitre saw to slice the trim so that it will all fit together. Use nails to attach the trim to the wall.
Paint and Add Finishing Touches

As a finishing touch, finalize the window framing by filling the nail holes with a both paintable and stainable type of wood putty. Lastly, use the paint or staining you want to customize its aesthetic appeal.