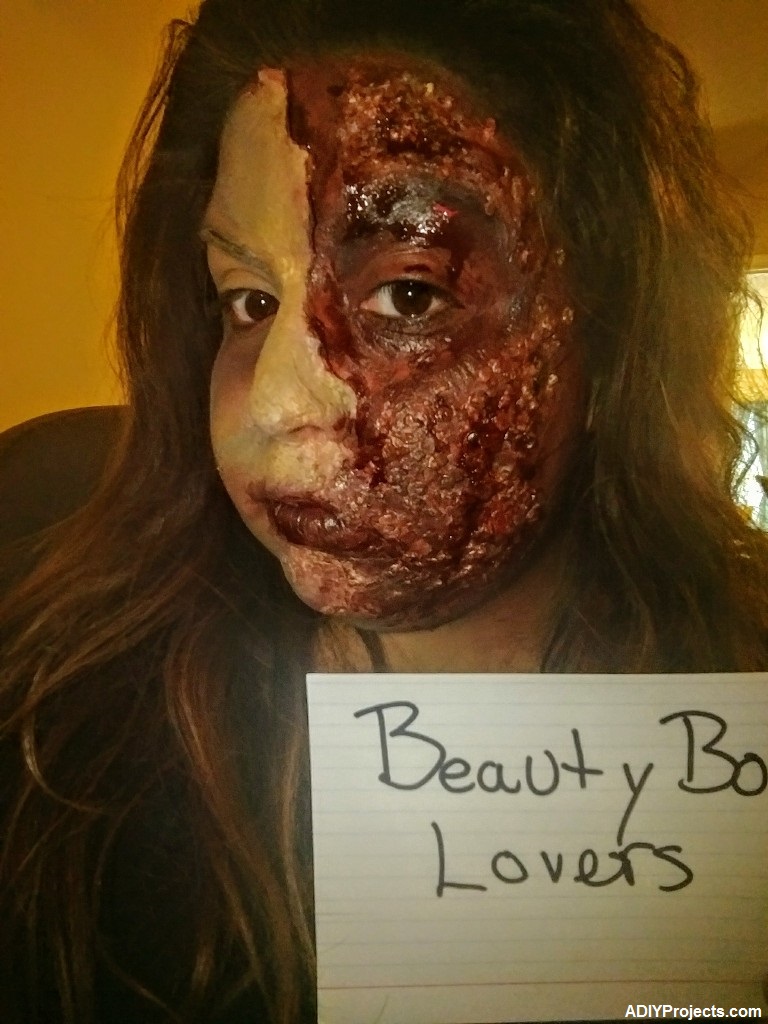
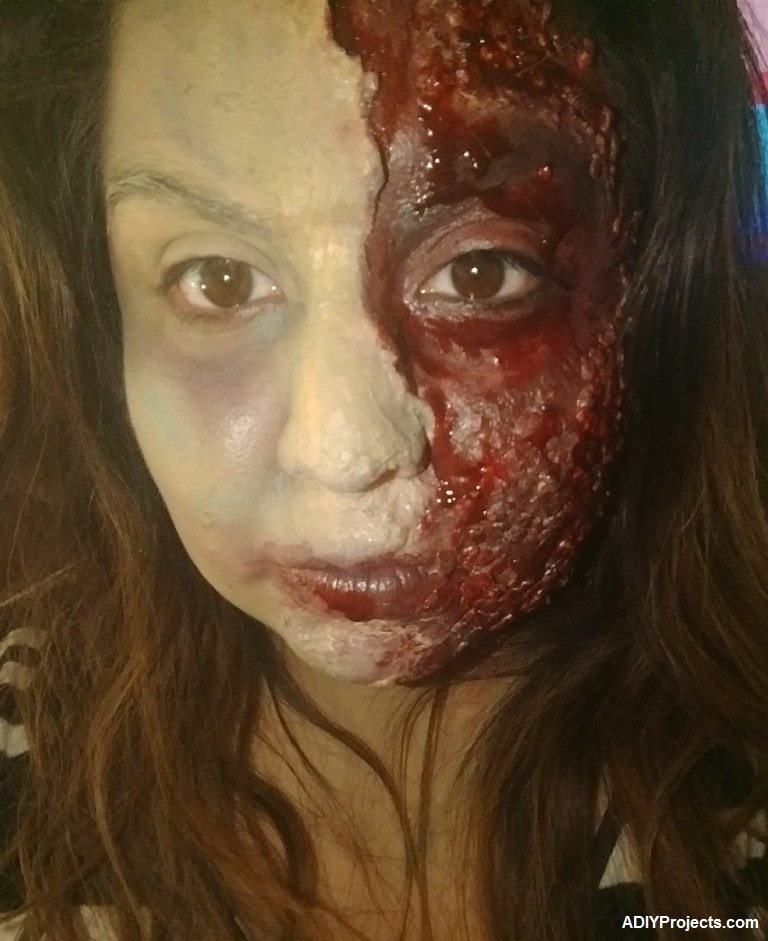
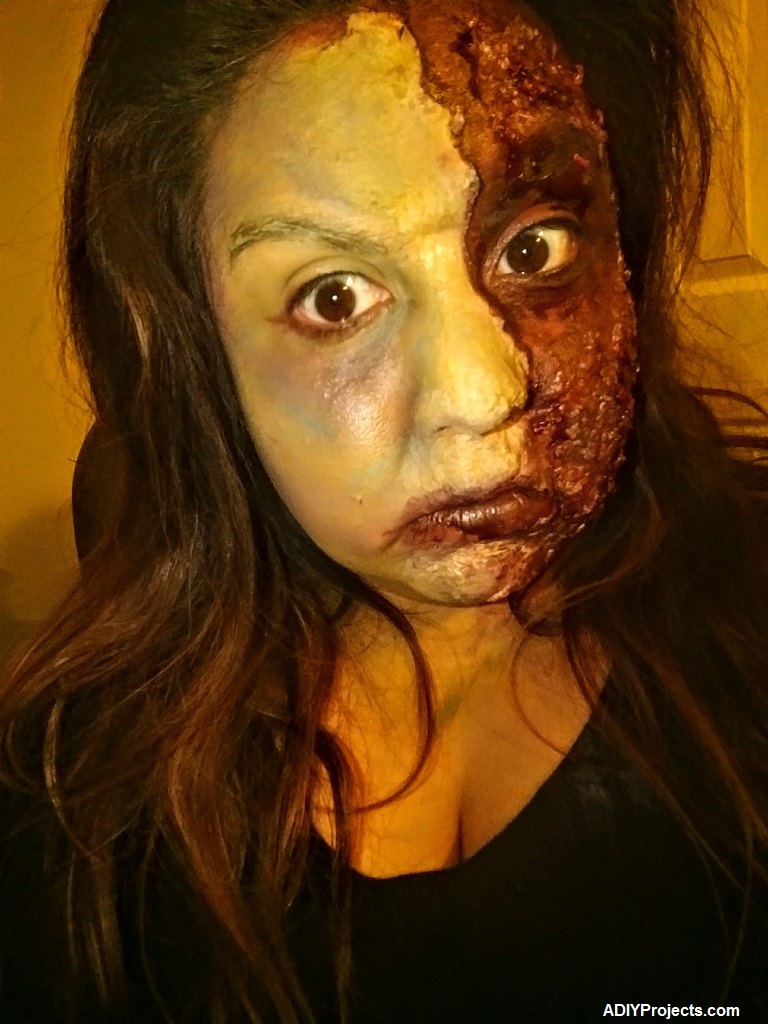
We are very thankful to Melina Ibarra for submitting this very scary and creepy Zombie Burn Halloween Makeup for our Halloween Makeup Contest. Follow the below steps given by the Melina Ibarra to understand the required material and direction for this makeup. Follow the Melina Ibarra on Instagram (@Melina601)
Zombie Burn Halloween Makeup Tutorial
Materials: I used liquid latex, oatmeal, cotton balls, gelatin, bil Nye makeup, makeup i had at home and lots Urban decay makeup.
- Steps:
prep your skin. I. Used coconut oil and to create a barrier to protect my skin. - use Elmer’s glue sticks to flatten down and protect your eyebrows. Let each layer drey before applying the next.
- with a eyeliner paint a line down where you want your face split as a guide.
- apply liquid latex down that line then a layer of toilet paper. it doesn’t matter if it’s wrinkled or uneven because your face is melting. I purposely made bumps around my nose, mouth, and chin to change the shape.
- let it dry. Liquid latex gets clear when dry.
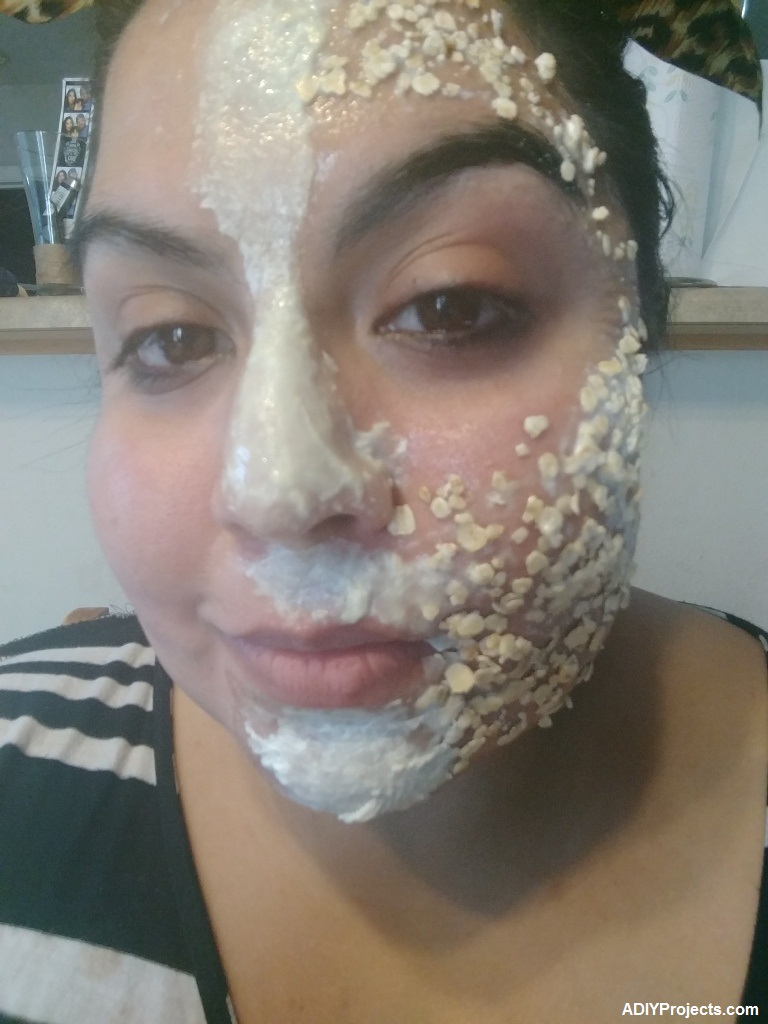
- while it’s drying I prepared my gelatin. First, take a coffe cup of hot water and put it in the microwave for about a minute. While the water is in the microwave, pour the knox in the bowl. Pour a little water in an mix it thoroughly. Ad a little tiny bit of water at a time. The desired consistency of the gelatin is that of pancake batter. During this time you can add makeup to make it colored. I used a bit of red and blue to make it look bloody.
- when it is at a decent temperature add a layer to the side of your face that will be melting. Before it gets push some oatmeal into it to create a bumpy surface. Pull up while doing it to create a scared look.
- while that side dries up I worked on the dead side. I like green zombies so I started of with green gray mixed with my everyday foundation. Brush it onto your whole face and any part of your neck that will be showing.
- with a sponge add some yellow through out to make it look more dead and decaying.
- with a sponge add purple and blues to create more depth to your skin. Go heavy around the eyes and where the skin will be lifting.
- now everything should be dry on the other side. Add. A layer of liquid latex over everything to connect it all. Here I added some cotton to the side of my mouth to make it look thicker. Let it all dry.
- Create bruised look by overlapping greens, purple, red and gray on the cheek bone.
- create infection vains with a thin brush with blue, green, red, and purple.
- melting side should be dry now. Cut down where you wanted your skin to come up. It doesn’t have to be perfectly make it a bit curved.
- once it’s cut start with greed all over the scared up side with a sponge. Get some inside the skin flaps.
- next do purple with a sponge all over the scared up side.
- use a thin brush to add black into the crevices of the oatmeal and in the skin flaps to create depth.
- use a dark red on top of everything paying special attention to the skin coming up
- use some lighter red on top of it all.
- now everything should be covered and look thicker and like scared layered skin. Apply some airspun powder to set and create an matefied look.
- mix fx blood with black and purple leaving chunks in to look like clots. You will need allot of this.
- apply blood all over the scared up side. Let it run down your face and neck. Go heavy! Your dead and melting lol! Flick your brush to create drops of blood.
- go have fun scaring people lol!


Please share you views and thoughts about this Halloween Makeup in the comment section. Enjoy!


