

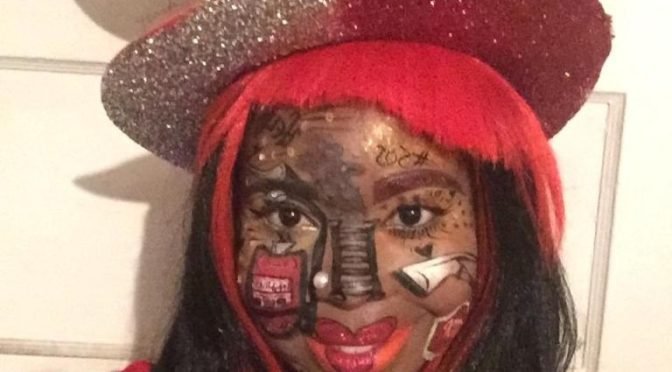
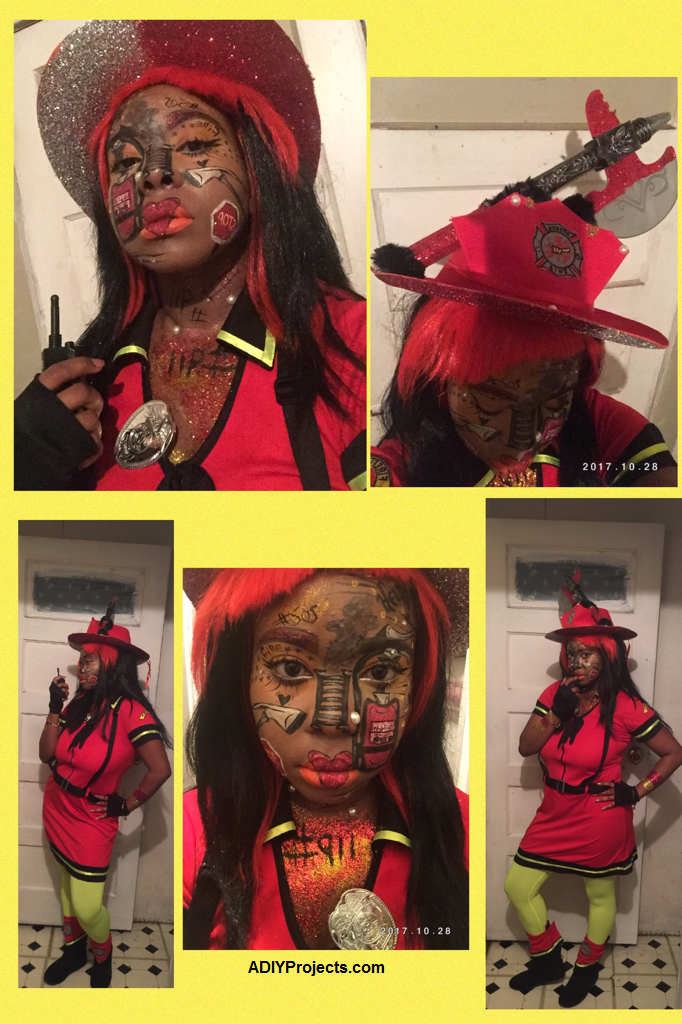
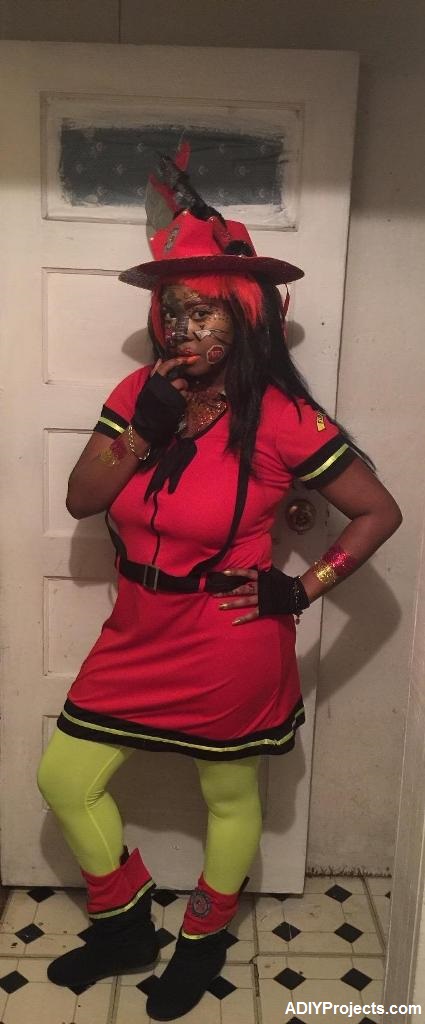
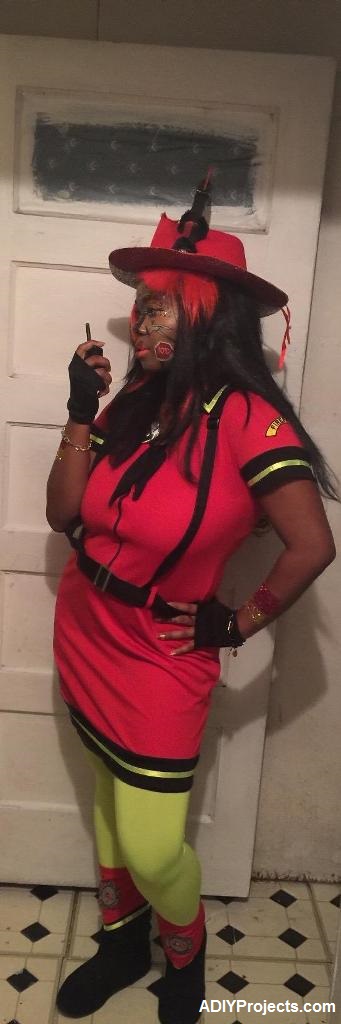
We are very thankful to Vicky for submitting this awesome Mizz Fire Gal Halloween Makeup for our Best Halloween Makeup For Women contest. You guys definitely going to love this look. To learn a complete direction and required material for this makeup. Follow the steps below give by Vicky.
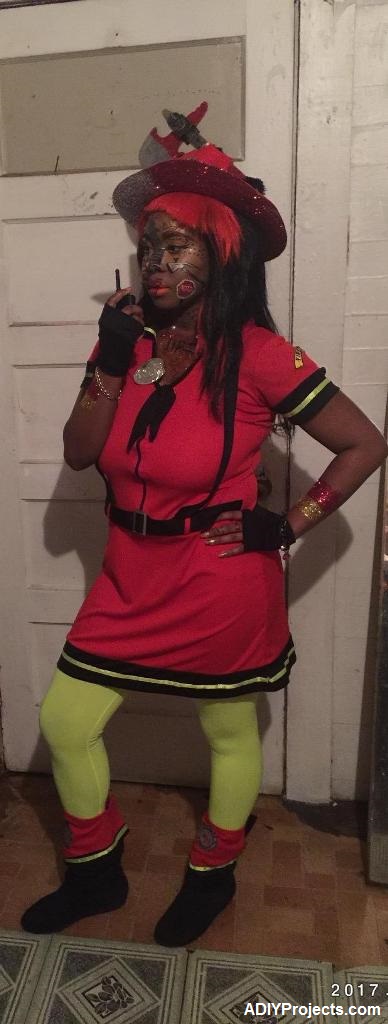
This idea originated from an idea I had for my music video (as shown here in the link: http://j.mp/2c0UnOp) as I’m a Christian singer/rapper, and now that it’s Halloween. I figured I’d put this costume into use once again with 3-D like makeup & conjured this up * Mizz Fire Gal* I had some much fun with this!
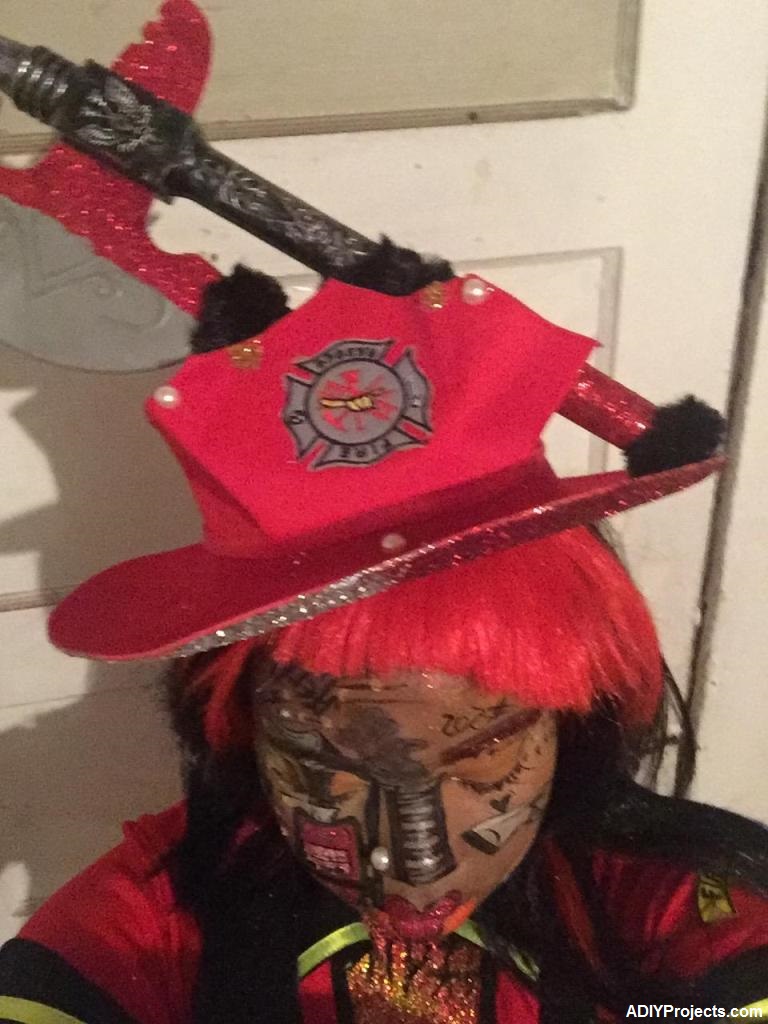
I spend roughly $15.00-$25.00 total for the Fire Hat $1.00, Fire Hatchet $1.00, makeup from Walmart $10.00, Wig $5.00, Glitter $5.00, Paint-$1.00. I just simply sat down sketched out on a piece of plain white printer paper of what I wanted and then, freehand the stop sign, and ladder fire symbols.
Mizz Fire Gal Halloween Makeup
Material Used for this Look:
- I used my makeup brushes I already owned/purchased to apply
- L.A. Color
- Black Radiance
- Pixi
- Maybelline
- Store Brand
- Urban Decay
- Krylon white paint
- Stick on diamond stickers
- glitter & Cover girl makeup products.
Steps to Create this Mizz Fire Gal Halloween Makeup
First, I began with my Black Radiance liquid foundation in caramel and Bare Minerals foundation primer and smash-box eyeshadow primer) sample from Ipsy.)
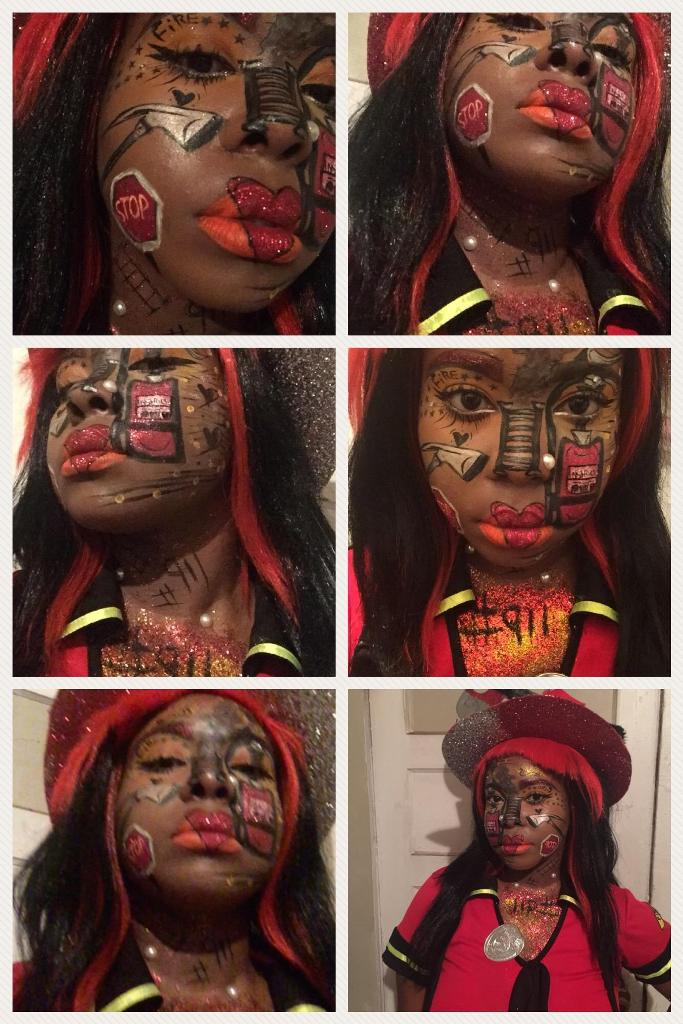
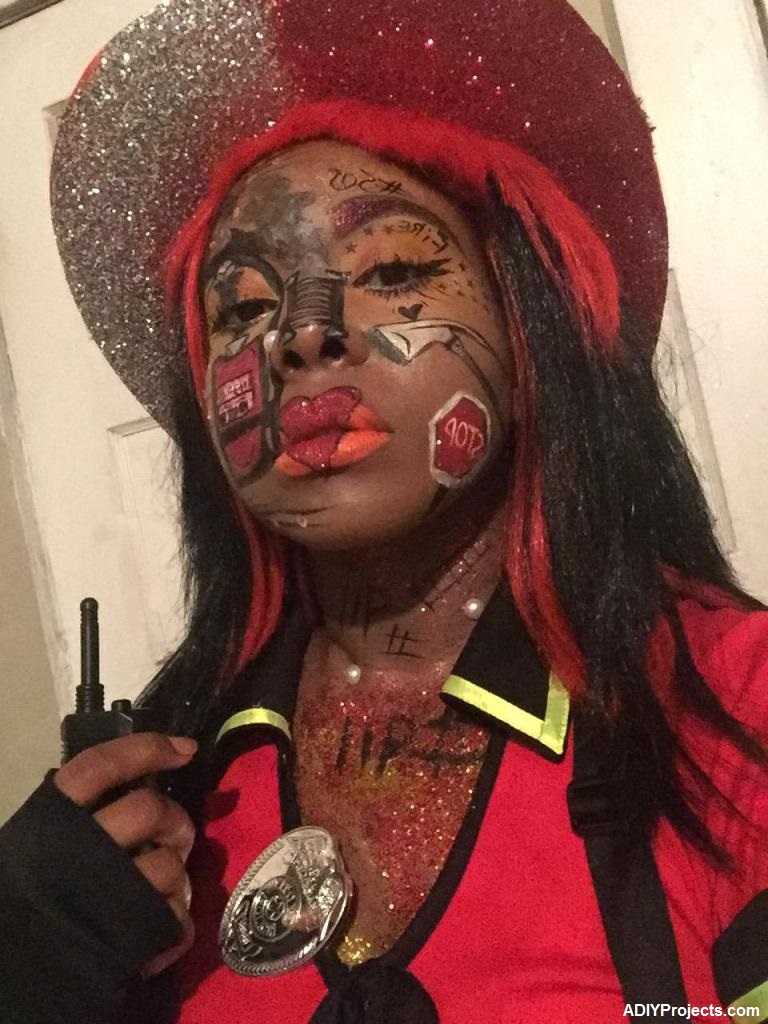
Step #1- Next, I used Urban Decay penciled eyeliner in black to sketch out and free hand all of art work. You can use a piece of scratch paper to practice drawing all of the shapes and writing, and google search as a reference to view and draw everything for a *Mizz Fire Gal* such as smoke, ladder, fire hydrant, ladder, hatchet and whatever you can think of just think creative.
Step #2- After you’ve drawn on your symbols and designs, it’s time to add color! I used Tattoo Junkee Red Liquid Lipstick ( comes with glitter.) to fill in my fire hydrant, stop sign and the heart in the middle of my lips. After the lip stick dries; add some glitter.
I used my Ipsy brand flat eyeliner brush and a Q-tip to fill in each shape with the glitter from Tattoo Junkee.
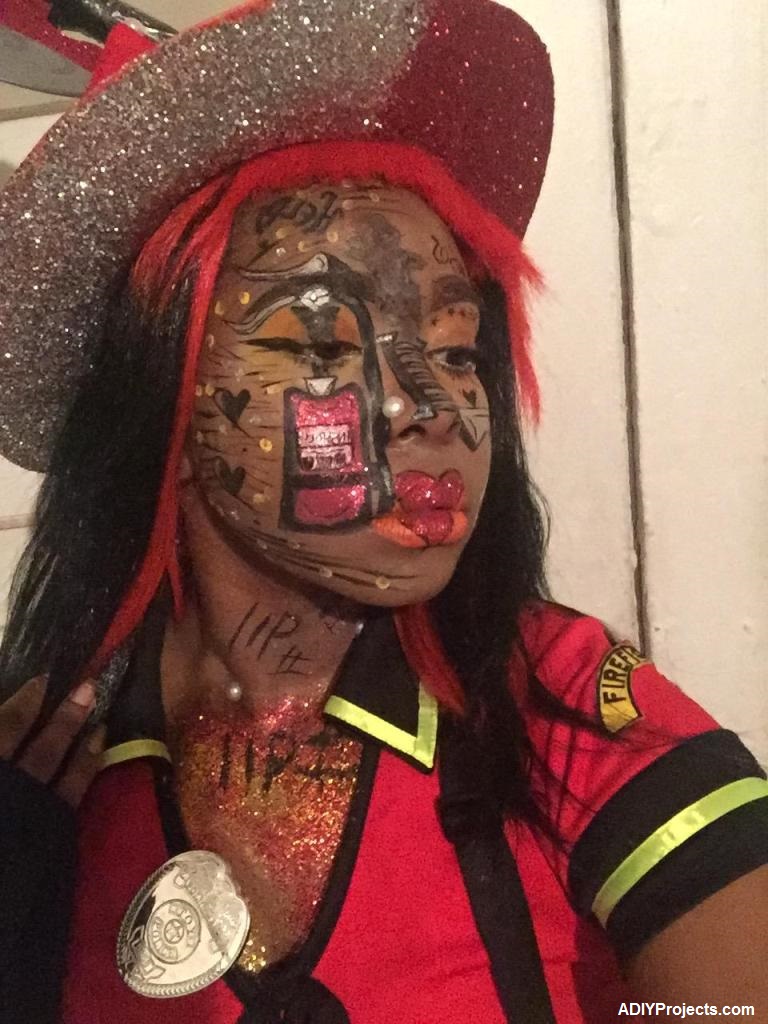
Step #3- Next I used a Wal-Mart store brand Liquid Eyeliner in black to draw in shadings, wordings and to outline and go over any mistakes that may have occurred and to just make the overall appearance pop out and look better. I then used my Kyrlon Foundation Paint in porcelain with a mini thin flat eyeliner brush to outline and mimic the look of the stop sign, fire hydrant & smoke.
I also used Shea Moisture Eyeliner Pencil in silver to color in the fire hydrant, hatchet and ladder (that’s on my nose.) to add definition where I’d see fit such as with the smoke to and ladder give it a grey/gradient 3D and more realistic effect. ( use google search to see where you could sketch in shadings of the shapes.)
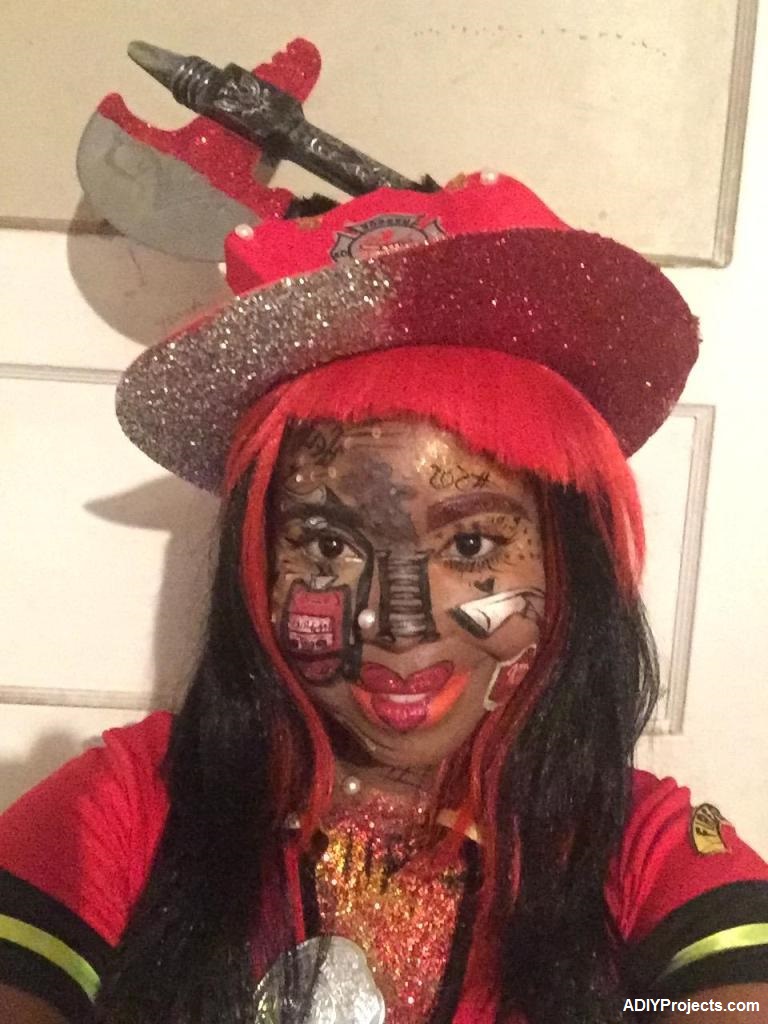
Step #4- after all of my shapes were drawn on I used my NYX Liquid Lip-Stick in orange to fill in around the heart of my lips.
Next, I used my homemade eyeshadow palette I purchased these bright beautiful vegan and all natural mineral colors eyeshadow * Me 2* from eBay.com or you can just use Urban Decays Electric Palette for these same vibrant colors. And used some orange and yellow eyeshadow applied with my Sedona Lace eyeshadow brush.
Then I filled in my eye brows with Disney’s Snow-White brow powder from a makeup kit I had and filled in my brows leavings enough room where I could add some red glitter.
You can use the same Tattoo Junkee red liquid lipstick to fill in the left side of your eyebrow then carefully apply the red glitter ( that came with the Tattoo Junkee Lipstick.) I just normally filled in my right brow completed with the same brow powder.
I then used some mascara from Tarte in brown and simply applied a generous amount to my lashes and used Shea Moisture’s Eyeliner pencil in silver to my lower bottom lashes.
I then used some Wal-Mart store liquid eyeliner in black to draw on thin lower lashes. For the stars around my left eye which was a stamp pen from ipsy *StarLooks* in black. I also drew on Radom but detailed strips and lines on the right side of my face as well.
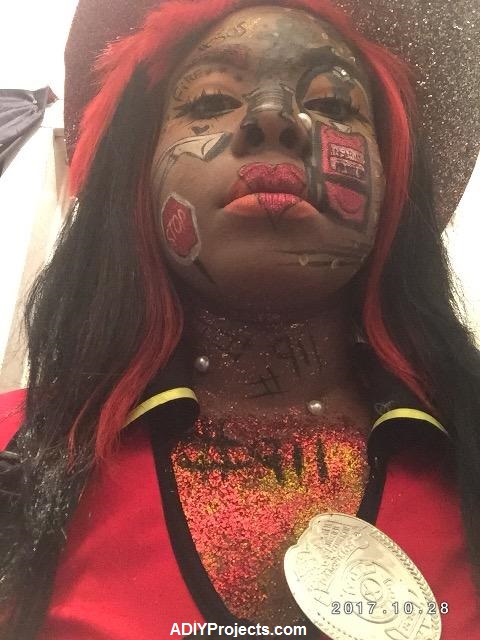
Step #5- Glam Time! I added some silver and diamond stick on stickers/jewels that I purchased from Dollar General and some of the stickers from a cute face sticker set that I purchased from the Dollar Tree last year!
Step #6- I used my setting spray from The All Natural Face.com to set my creation.
Follow Vicky on the Facebook (MizzVicky) and Instagram (@mizzezvicky).


Enjoy this awesome makeup look and share your thoughts and view about this makeup in the comment section below.